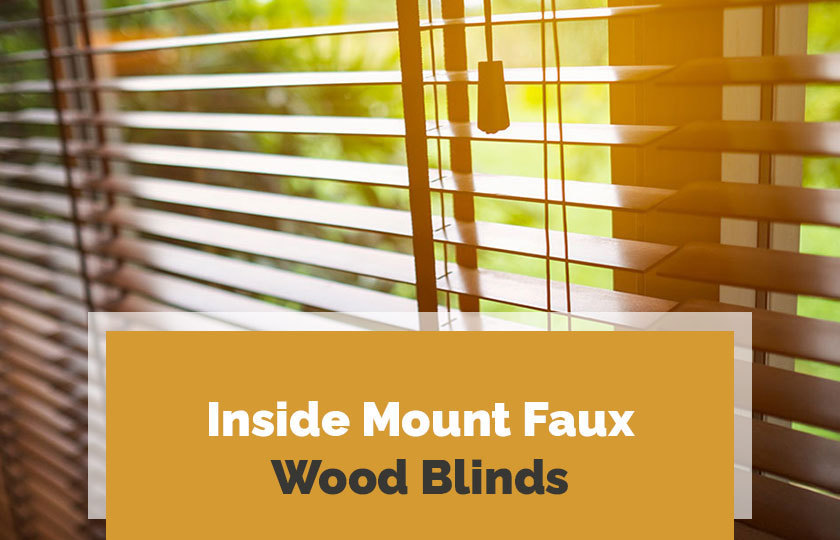
Are you thinking of decorating your windows with faux wood blinds? They look like real wood – with a few prominent differences.
Most are made entirely from vinyl, while others combine vinyl and wood. Compared to real wood, faux wood blinds are low maintenance and waterproof. These qualities make them a stronger and more durable option than real wood blinds.
In this post, we will guide you on how to install these window coverings. It may not be easy, but with the right tools and basic knowledge of faux wood installation, you can beautify your windows yourself.
Let’s get started.
Vital Steps to Follow to Install Faux Wood Blinds in Your Home
First, make sure you choose the mounting type that can be either outside or inside. The tools necessary for installing these blinds are:
- A cordless screwdriver or power drill with a 0.25” hex head drill bit
- A step ladder
- A level
- A steel measuring tool
- A hammer.
Here are the steps you should follow to mount these faux wood blinds.
1. Installing Inside Mount Faux Wood Blinds
Do you want to have inside mount faux wood blinds on the windows of your Vaughan home? Follow these vital installation steps:
Position the mounting brackets flush against the top of the window frame or wall. The headrail must be placed in such a way that the blinds don’t stick out far from the wall. Also, ensure that the blind slats don’t hit the window when tilted open.
If your window blinds have a valance, set the blinds back a little bit to accommodate them properly. If the windows are very thin but you still want inside mount window coverings, choose 1” faux wood blinds.
Use a level to ensure that the blinds are absolutely straight. Then mark its edges with a pencil. Grasp the brackets, line them up using pencil marks and then mark the holes for the screws.
The next step is to drill pilot holes. (A pilot hole allows the screw threads to cut into the hole directly which diminishes the risk of splitting wood near an edge or an end.) In case you do not have a power drill, you may create these holes by tapping a nail into the wall with a hammer and then pulling it out. If you do not want to make the pilot hole very big, use a nail with a smaller diameter instead of a screw.
Then align the first bracket with pencil marks and pull out the screws inside the wall using either a power drill or screwdriver. Repeat the process of mounting the bracket on the other side.
If the blinds have a center bracket, repeat this step a third time. You can mount this bracket a little bit off-center so that it does not interfere with the installation mechanism near the top.
If the blinds have valance clips, attach them to a headrail prior to mounting. Ensure that you leave enough space in between so that they don’t interfere with other mechanisms.
Then slide this headrail inside the brackets and close the bracket covers until they snap into place. Make sure that the blinds are secure inside the brackets so they do not move around.
Snap the valance into the clips that are already installed and make adjustments accordingly.
Next, assess the new blinds by lifting and lowering them gently. Tilt the slats back and forth when the blinds are opened completely.
No matter how flawlessly you have mounted them, never use force or put heavy weight on them.
2. Installing Outside Mount Faux Wood Blinds
Here are a few vital steps to follow when installing outside mount wooden blinds in Vaughan:
Position the window blind either on the window trim or wall surface. (A window trim is a piece of wood or composite material that covers up the seam where the window actually meets the wall.) Use a pencil to mark the right and left outer edges. Make sure that the window blind is leveled and centered.
Then align both the bottom and side of the first mounting bracket along the inside of the pencil mark. Mark the holes, drill, and then insert the screws. If you are trying to install inside the drywall without any screw behind it, you must use drywall anchors. (Drywall is a type of board made from wood pulp, plaster, or other materials that are used to create the interior walls of a house.) Repeat the whole procedure for the opposite mounting bracket.
If you have a bracket with center support, mount it off center above the section of the headrail. This ensures that it won’t interfere with the functioning of the blind cord.
Then snap all the valance clips over the headrail. Make sure you space them evenly so they don’t disturb other mechanisms inside the blinds.
Next, slide the headrail inside the brackets. Close the covers of the bracket by pressing the bottom with your thumbs and lowering the front portion until they snap into place.
Attach the side of the valance using L- brackets. (This is an L-shaped fastener used to join two parts at a 90⁰ angle.) Then snap the valance into the clips that are already installed.
The final step is to examine the new blinds. Use a pull cord to lower or lift the blinds and then tilt the slats either by adjusting the tilt cord or rotating a wand.
By following these steps closely, you will be able to install faux wood blinds with relative ease. So, if you’ve been thinking of a new look for your windows, now is the time. Contact Centurian Window Fashions to enjoy the best blinds and custom curtain installation services in Vaughan.


