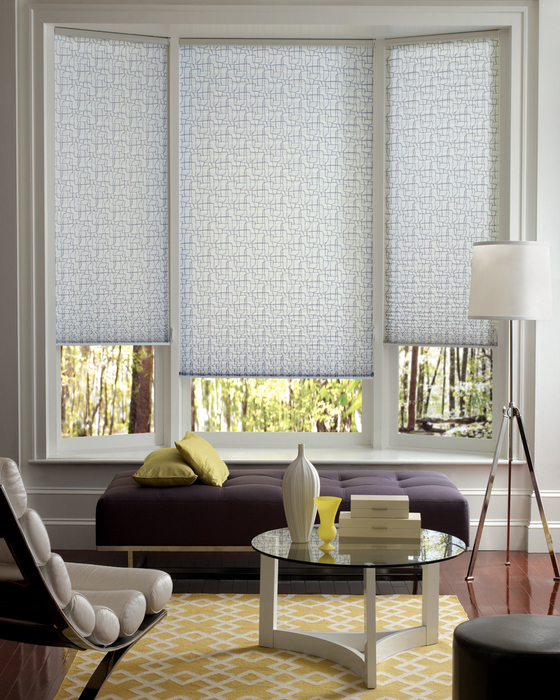
Roman Shades are a type of window covering that is mainly used to block the sun. These are different from other shades as they will stack up very evenly, when opened. However, when open these are visibly smooth and not ribbed or bumpy like the typical blind varieties. When installing Roman shades you can either do that in a DIY project or hire professional help. Read on to know if you are planning a DIY project.
Here are 5 Expert Tips on Making of Roman Shades:-
1. Squaring the Fabric
Nothing will be worse than hanging a Roman shade, lopsided. Or if it twists upon hanging, or just isn’t right. A major cause for this can be uneven fabric. Ensure you use a Right Angle or T-square tool while doing the measurements and cutting your fabric. If you end up with square edges, then sewing the fabric to the lining will be an easier job, leading to your Roman shades to hang better.
2. Space the Cord Lifts to Every 10 Inches
Most people are of the view that a 2 or 3 lift cords is essential in the operation of a Roman Shade. But then when they go on to raise the shade, it often happens that the fabric swags in between and lifts the cords. Another reason to this could be not enough lift cords or the lift cords do not close in together enough. Ensure that there is at least a 10” gap, whenever you raise the cord. This will ensure that the Roman Shade does not swag in between the cords.
3. Hardware
Choosing the hardware is also of equal importance. The basic installation of cord cleat and screw eyes might just be all you need to it. This is also most appropriate for shades which are lighter. To this if a small cord lock is added, the operating system to a Roman Shade gets almost 10 times easier.
In case your shade is heavy, replace the cord idlers and cord pulleys with screw eyes. These will then reduce the friction of the lift cord, rubbing along the screw eyes, thus allowing for smoother operation. For the best result have a bead chain clutch system installed.
4. Center the Main Panel
If you have your Roman shade wider than the fabric, the fabric will need to be pierced. Ensure that one full fabric width is placed in the midst of the shade. Then do the piercing on each side after calculating the remaining width. The Roman Shade thus made will be stronger without the unsightly seam in the middle.
5. The Blind Hem Stitch
The front of your Roman shade must have minimal to zero amount of stitching show. But many a times this just can’t be avoided. A blind hem stitch can be used to sew the bottom hem of the Roman shade. Depending on how you wish to sew the side seams, a blind hem stitch can also be a perfect option in this case.
The best Roman Shade is made by the most efficient use of the available resources. This will include the stitching and the hem too. If you are planning on a DIY roman shade follow these tips for the best possible results.

